
When it comes to 3D modeling for architecture, there’s no software tool more essential than Autodesk Civil 3D. Civil 3D promotes the accurate and efficient development of infrastructure designs, allowing for design automation, analysis and improvement. What’s more, teams of professionals can work together within Civil 3D, as it’s compatible with both Building Information Modeling (BIM) and Computer-Aided Design (CAD) processes. Civil 3D allows for the design of bridges, geotechnical modeling, the creation of construction documents, the analysis of survey data and workflows and much more.
If you’re pursuing a career in architectural design technology, you’ll be working with Civil 3D to model various structural designs, and during your online program at Digital School, you’ll build the skills necessary to navigate this program with ease. Here, discover some helpful tips and tricks for designing with Autodesk Civil 3D which will enhance both the quality of your projects and efficiency of your workflow.
As an Architectural Technician, Try Using Civil View
When using Autodesk Civil 3D, you may notice that there’s a Civil View plug-in available. However, you’re not alone if you’ve never taken advantage of it. Civil View, a plug-in for 3ds Max, offers a great solution for presenting an enhanced design to a stakeholder or another professional on the project. After online technical design training, you’ll use Civil View primarily as a visualization tool for corridor designs, otherwise known as roads, railways or other avenues for transportation. What’s unique about Civil View is that it allows you to present your design with animated features, such as signs, traffic, streetlights and more. Throughout your career, try using this tool to bring your designs to life before the construction process begins.
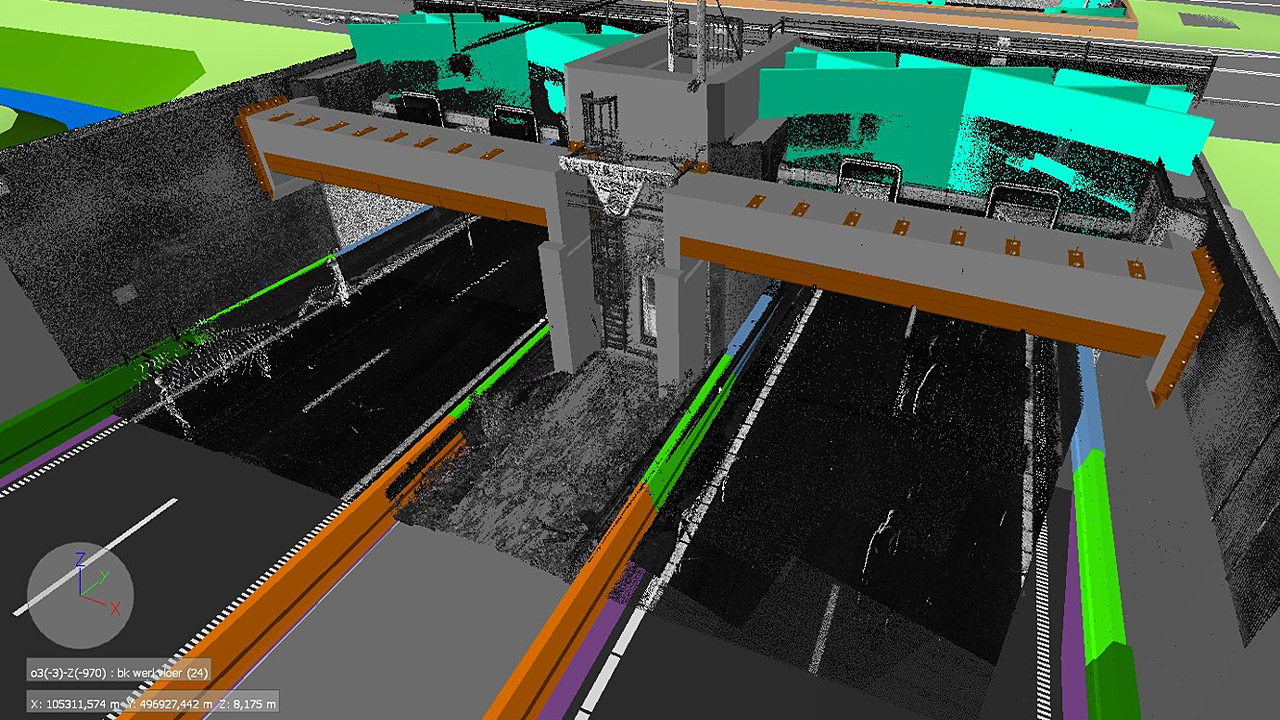
Use Civil View to present your corridor designs
Build Your Own Tool Palette
If you find that you’re consistently alternating between the use of a few different symbols or blocks on a particular project, there’s a way to fix that. With the creation of your own Tool Palette, you can access the tools you use most frequently with ease, rather than having to search for them within the Master palette. To create a Tool Palette, click the Tool Palette icon, and right-click on its title bar to select the “New Palette” option. You’ll then name your palette, and drag your symbols and blocks from their previous location into your palette. It’s a useful tool for projects where you’re frequently switching between blocks. Don’t forget to take advantage of this feature after architectural design college!
Create Custom Linetypes
While Civil 3D comes with a set of default linetypes, as an architectural technician, it’s important to make note of the fact that it can also be used to create custom linetypes. Custom linetypes can be created to match your design more precisely, and the process is easier than you might expect. To start, you can draw the linetypes using Civil 3D’s drawing tool. When you’ve created something you’re satisfied with, you can then go to your Tool tab, and select the “Make Line Type” option. Name and save the file with your linetype, then select the start and end point of your design. However, make sure the end point is where the pattern starts over, rather than the visible end of the line segment. When you click done, the new linetype is loaded and ready for use within your designs. When creating custom linetypes, you’ll be able to create lines with symbols, shapes, text, curves and more, enhancing the potential of your designs.