3D printing technology is rapidly making its way across many industries, creating employment opportunities for professionals with CAD training. Due to this recent demand for drafting technicians, it is the perfect time for those interested in designing 3D models to pursue training from a CAD college in order to launch their career.
To create designs that come to life as prototypes, parts or final products, it is important to uncover the core processes that make CAD designs reliable for 3D printing.
If you are planning to pursue a career as a CAD designer, read on for some fundamental tips on making CAD designs that will inspire reliable and lifelike 3D models.
Preparing your CAD Drawing
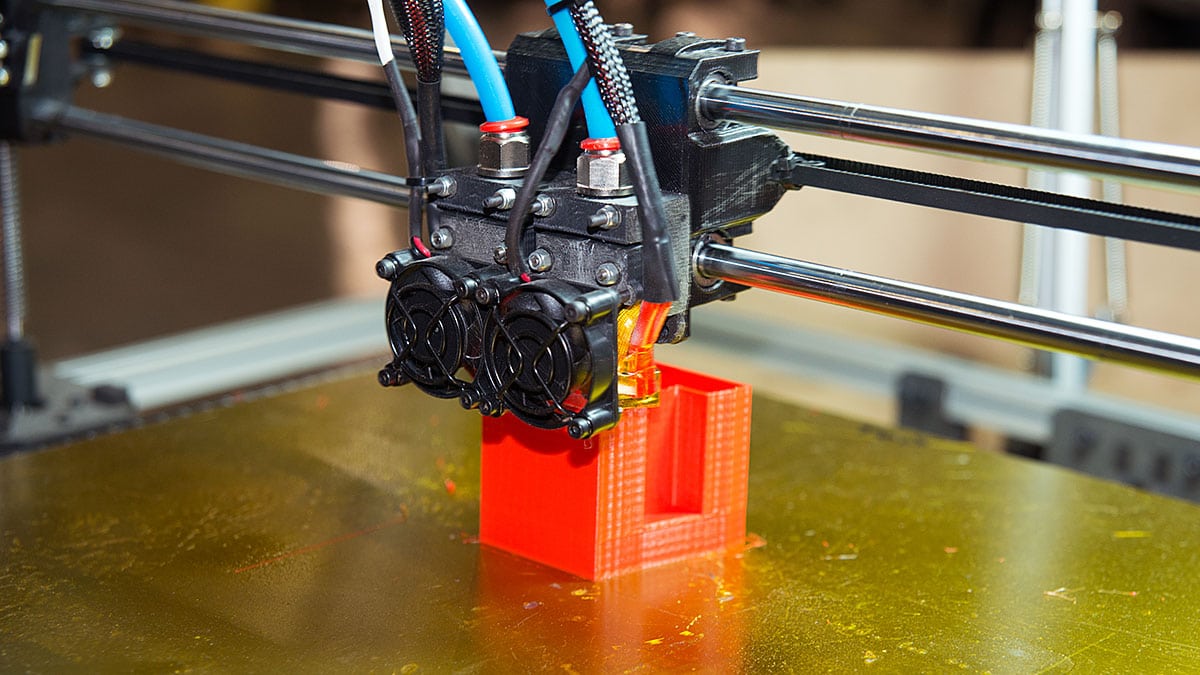
One of the first things you’ll learn when earning your CAD certification is that the whole process starts with the concept. Using CAD software, you will essentially be creating a virtual blueprint of the object you want to print. Industry experts know that once you have completed your design, the software will divide it into digital cross-sections that the printer can build layer by layer.
The standard file extension for 3D designs is.STL, which stands for stereolithography or Standard Tessellation Language. STL files contain three-dimensional polygons that are sliced-up so that a 3D printer can easily process their information.
Before Printing, Make Any Necessary Structural Adjustments in CAD
Before printing your model, you may first be required to make a few slight adjustments to it. 3D CAD training courses will teach you that the shell or wall thickness of your model must meet the minimum requirements in order for it to hold up. Models with shells or walls that are too thin might:
- break during the printing process
- print with errors
- be impossible to print
- be vulnerable to breaking during transportation
Models that have a large mass connected to a thin stem are subject to similar breakage too. It’s important to ensure that all structural aspects of the model can support their own weight.
Another critical aspect of your design that should always be double-checked before being sent to print is the movable parts. If your model contains gears, cogs or chain links, make sure that there is enough clearance between these parts or the model may come out of the printer as a solid, non-moving object.
Sending your CAD Design to the Printer
One of the first things you’ll learn in your 3D printing courses is that this technology uses an “additive” manufacturing process, which means that a solid object is constructed by adding material in layers. Subtractive manufacturing refers to an object that is constructed by cutting or machining the raw material into the desired shape.
The final step in the design phase is selecting the material that you would like your 3D printed object to be made from. Depending on the printer and the model you’re building, you’ll have the option of using materials such as rubber, paper, plastic, polyurethane, metals, and more!
Are you interested in enrolling in CAD courses?
Visit Digital School for more information or to speak with an advisor.